Step 1 : Log into your cPanel interface (yourdomain.com/cpanel)
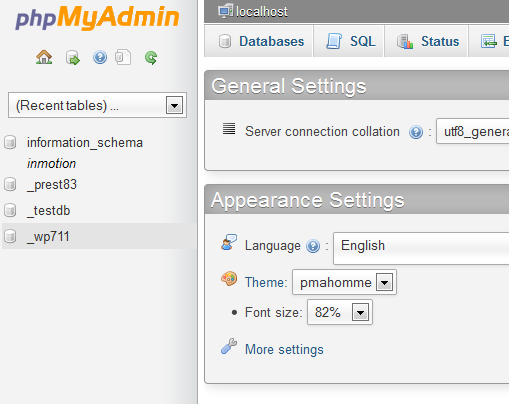
Step 2 : Look for the Databases category and click on the phpMyadmin icon.

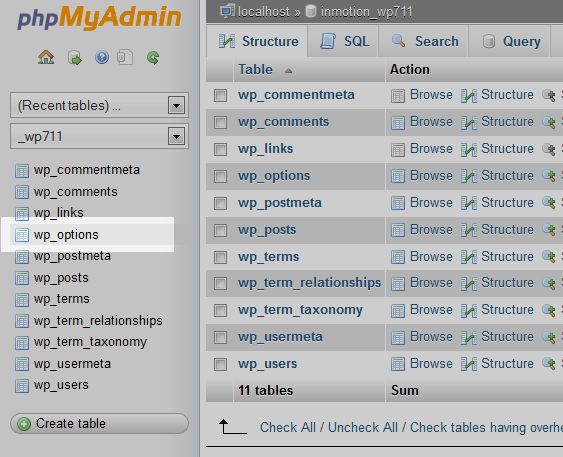
Step 3 : Once inside the phpMyadmin look to the left hand sidebar and click on your specific WordPress database.

Step 4: From there, select the wp_options table.

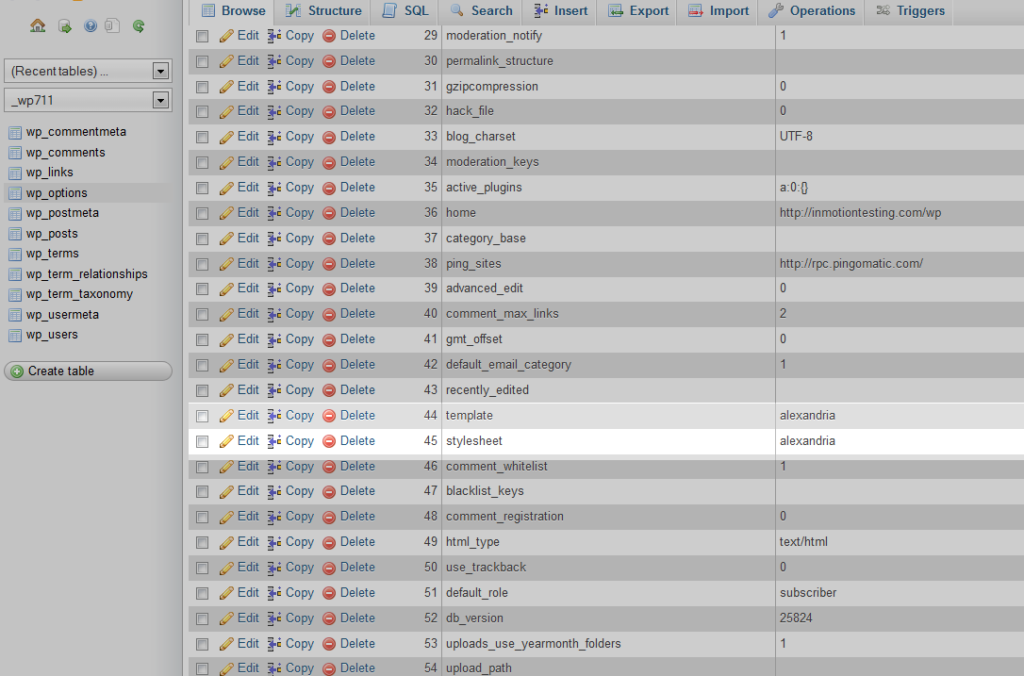
Step 5 : Once the table is opened, look to the tab menu on the screen and click on the Browse tab option. This allows you to browse the columns broken down into pages. Click on the Show All option at the top so it will list all the columns on one page.

Step 6: Next, you will need to locate two rows on the page, the template and the stylesheet. Pick template and click on the Edit link.
Step 7: This will take you to the edit page where we will change the data for the option_value. In our example, the value is set for the alexandira template. Change this to the default theme name, twentythirteen and click on the Go button at the bottom of the page.
Step 8: Perform the same procedure on the stylesheet row. When you finish the stylesheet and return to the list, you should see the new theme in the value portion of the list for both. You can now visit your website and see that it is using the default theme. From here you should also be able to log into your wp-admin area.
